

This feature blocks cells by marking the cell as used. This in turn gives some freedom when building grids around other objects like rocks or cliffs. It also has the innate ability to create the cells in any shape you like, such as a layout of a house, town, ship, or any other design you choose.
It can block cells checking for objects on or above the grid.
It also can check to see if there is anything underneath the grid.
You can of course have the choice of prefabs to place or not place in both instances.
Auto Cell Blocking
Turns the auto cell blocking feature on or off.
Auto Update
After you have created a grid preview, you can then enable this to get a live update when you change any other Auto Cell Block settings. This slider adjusts how transparent the Auto Cell Block preview is.
This field only affects the editor view.
Transparency
This slider adjusts how transparent the Auto Cell Block preview is.
This field only affects the editor view.
Create
Creates a preview for your Auto Cell Block. Green is available, red is not. You can use Auto Update after creating a preview to really see how useful this feature is.

Update
Update will become available after creating a preview. Clicking update after changing some other Auto Cell Block settings will rebuild the preview.
Remove
Deletes the current preview.
Block Type
This allows you to choose what to block, objects above ot level with the grid, the void beneath the grid, or both in combination.
Ground Layer
The ground layer is the layer your actual terrain or ground objects will have to be on for this feature to work. Objects that are being blocked above the grid can be on any layer. For removing cells if there is a void, the terrain will need to be on this assigned layer. This is an integer that represents the layer. See Unity documentation about creating a new layer and adding your objects.
Ground Distance
The ground distance is how far the below rays check to find the ground. The rays should always be going just past the ground to work properly. See Show Below Rays to make this easier.
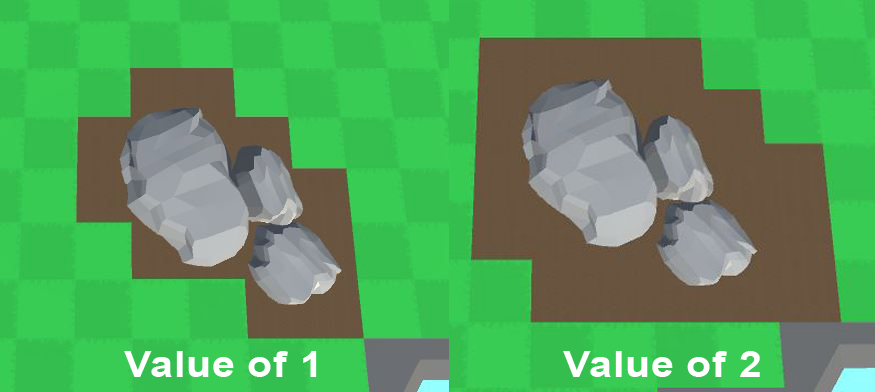
Above Check Box Size
This increases the size of the box created from the centre of each cell. The larger you create this box, the more removed cells or space around the collision objects you will have. See Show Above Box Colliders to get a better understanding of how this is working.
Above Check Box Height
This will project a box from the grid upwards checking for objects with colliders attached. If you have bridges and would like to remove the cells underneath them, increasing this value may help. Again checking Show Above Box Colliders would help see how this is being applied.
By default these boxes start at the grid height.
Check Box Offset
This affects the Y axis offset of the Above Check Box Height‘s boxes.
A value of 0 will leave them on grids Y value.
Show Above Box Colliders
This just gives a visual representation of the box colliders created from the centre of each cell.
Show Below Rays
Shows the rays created from each cell point. They should intersect the ground layer geometry slightly.
Check Ground Hits
Checking this will give you a debug.log of all the distances of all the points in the grid. Most commonly the log with the most same hits will determine the distance between the grid, and the largest flattest part of your terrain. You can increase this value slightly and then use it for your Ground Distance.
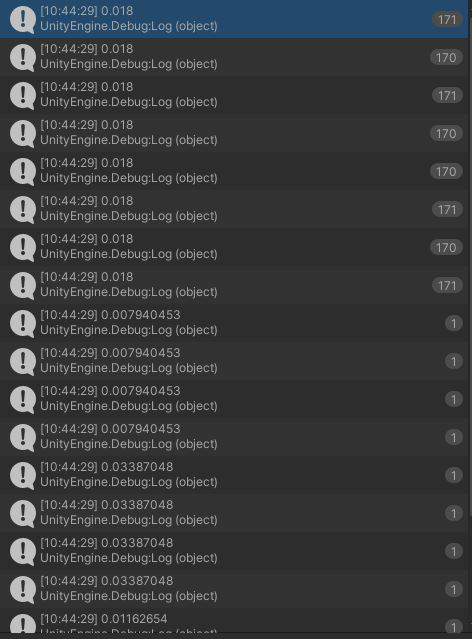
So perhaps a value of 0.02 could be used as the Ground Distance.